 Ferndale Exterior
 Building New on Lummi Island: What Your Windows Are Up Against
A new build on Lummi Island sits in one of the more demanding window environments in Whatcom County. The island catches salt-laden air off the Sound, driving rain that comes in sideways during winter storms, and a long, damp moss season that keeps north- and west-facing surfaces wet for weeks at a time. None of that is a reason to avoid building here — plenty of homes on the island have held up fine for decades. But it does mean the window installation has to be done correctly the first time, because a builder-grade shortcut that would go unnoticed on a sheltered inland lot in Ferndale can turn into a leak, a corroded hardware set, or a rotting sill within a few winters out here.
New-construction window work is different from a replacement job, and it's different again on an exposed coastal site. This page is about doing that job right on Lummi Island specifically — the details that matter for this location, not a generic write-up of window basics.
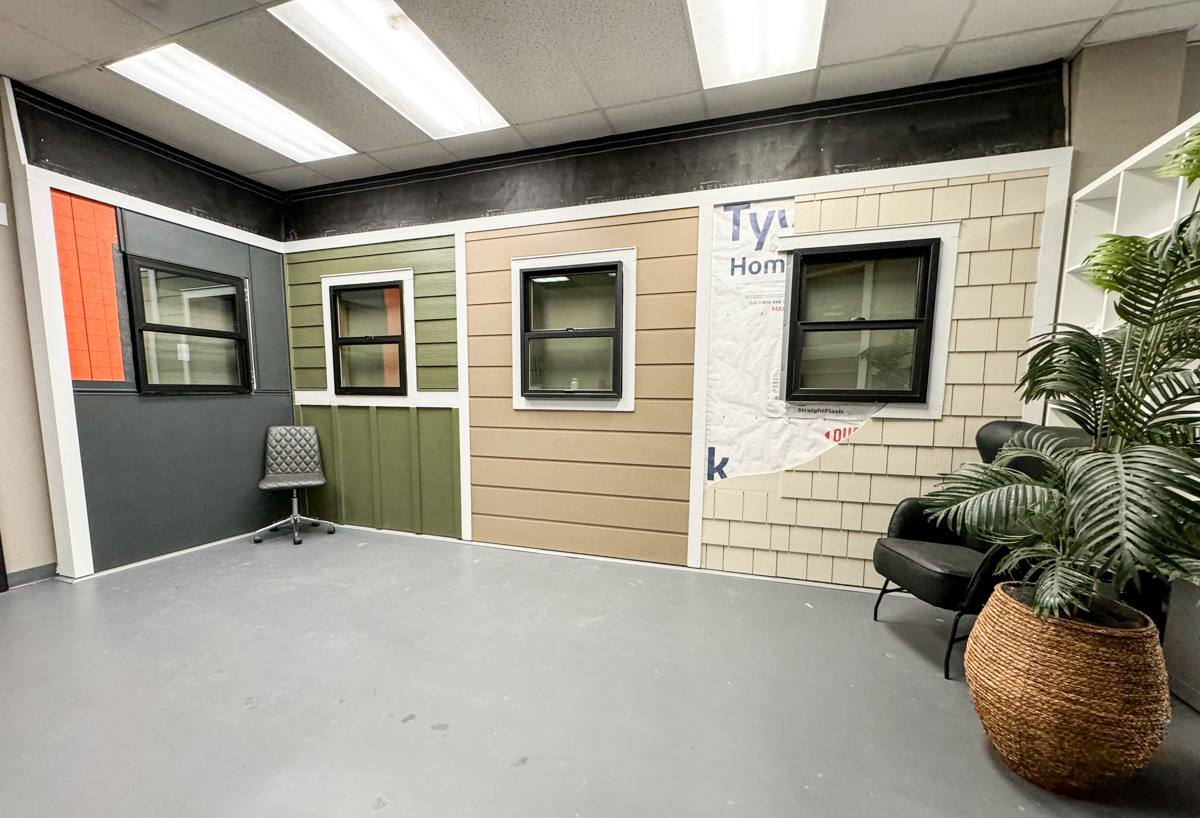
New-Construction vs. Replacement: Why the Distinction Matters
"New-construction" windows are installed into open framing before the exterior finish goes on, using a nailing fin (or flange) that gets integrated directly into the water-resistive barrier (WRB) and flashing system. This is different from a "replacement" or "pocket" window, which gets set into an existing opening with the exterior trim and siding already in place. On a new build, we have full access to the rough opening, the sheathing, and the WRB layers — which means there's no excuse for a sloppy flashing detail. The opportunity to get it right only exists once, before the siding closes everything in.
That access is an advantage, but it also raises the stakes. Every flashing lap, every sealant joint, and every fastener pattern gets buried under siding and trim for the life of the building. On a site that takes driving rain the way Lummi Island does, those buried details are what determine whether the wall assembly stays dry.
What a Correct New-Construction Install Actually Involves
- A sloped, back-dammed sill pan under every window — not just caulk and hope
- Self-adhered flashing membrane integrated with the WRB in the correct shingle-lap order (sill, jambs, then head)
- A drainage gap or capillary break at the sill so any water that gets past the window has somewhere to go
- Head flashing that sheds water out and away from the opening, not just a bead of sealant along the top
- Nailing fin fastened per the manufacturer's schedule — spacing and fastener type affect both structural performance and warranty validity
- Interior air-sealing at the rough opening, separate from the exterior water management, so the two systems aren't relied on to do each other's job
Salt Air, Driving Rain, and Moss: How the Climate Changes the Job
Salt Air and Hardware Corrosion
Lummi Island's proximity to salt water means airborne salt settles on everything — including window hardware, screws, and flashing metal. Standard zinc-coated fasteners and mill-finish aluminum trim pieces corrode faster here than they would a few miles inland. We spec corrosion-resistant fasteners and flashing metals for coastal builds, and we pay attention to dissimilar-metal contact (aluminum against steel, for example) that can accelerate galvanic corrosion in a salt-air environment.
Driving Rain and Wind-Driven Water
Open exposure on the island means wind-driven rain hits window openings with more force and from more angles than a sheltered lot would see. This is exactly the condition that exposes a weak flashing detail — water doesn't just run down the wall, it gets pushed sideways and upward under trim edges. A correctly lapped, sloped, and sealed installation handles this; a shortcut installation eventually doesn't.
Moss and Sustained Moisture
Whatcom County's long wet season keeps shaded, north-facing surfaces damp for extended stretches, and moss takes hold anywhere water sits or drainage is blocked. Moss itself doesn't damage a window, but it's a symptom of standing moisture — and if it's growing on a sill or trim board, that's a sign water isn't draining the way it should. Getting slope and drainage right at installation is cheaper than dealing with rot years later.
Material and Hardware Choices for a Coastal New Build
| Frame Material | Coastal Performance | Maintenance Consideration |
|---|---|---|
| Vinyl | Handles salt air and moisture well; no corrosion risk on the frame itself | Low maintenance; hardware (locks, hinges) still needs a corrosion-resistant spec |
| Fiberglass | Very stable in wet, temperature-swinging conditions; strong moisture resistance | Low maintenance; higher upfront cost |
| Aluminum-clad wood | Good exterior protection if the cladding and flashing are detailed correctly | Any breach in the cladding exposes wood beneath to sustained moisture — sensitive to installation quality |
| Bare wood | Requires the most diligence in a salt-air, high-rain environment | Regular refinishing and inspection; we'll walk through the trade-offs honestly if this is the look you want |
We don't tell clients there's one "right" frame material — we tell them the honest trade-offs for this specific site. A bare wood window can look great on Lummi Island, but it needs an owner willing to keep up with maintenance. A fiberglass or vinyl frame asks less of you over time. What we won't do is cut corners on the flashing and installation regardless of which frame you choose, because the frame material doesn't fix a bad install.
Code, Energy, and Performance Standards in Whatcom County
New-construction windows in Whatcom County have to meet current Washington State Energy Code requirements for U-factor and, depending on the project, solar heat gain coefficient. Bedroom and other required egress openings have minimum clear-opening dimensions that need to be checked against the specific window unit before it's ordered, not after. We coordinate window specs with the plans and permit set so nothing gets flagged at inspection, and we can talk through performance ratings in plain terms rather than just handing you a spec sheet.
Our Process for New-Construction Window Installs
- Plan review and coordination. We review the window schedule against the framing plans and confirm rough openings before units are ordered, so there's no on-site resizing.
- Rough opening prep. We check framing is square and plumb, and that the WRB is ready to receive flashing before a single window goes in.
- Sill pan and flashing installation. Sloped sill pans, jamb and head flashing, integrated with the WRB in proper shingle-lap sequence.
- Window setting and fastening. Units are set level, plumb, and square, then fastened per manufacturer schedule — this affects both weather performance and warranty coverage.
- Interior air-seal and exterior seal. Interior gaps sealed for air control; exterior sealant joints placed only where they belong in the drainage system, not as a substitute for flashing.
- Documentation and walkthrough. We go over what was installed and how it's flashed, so you know what's behind the trim before the siding closes it in.
Checklist: What to Confirm Before and During Your Install
- Sill pans specified and installed with back-dam and slope, not just flat flashing tape
- Flashing integrated with the WRB in correct shingle-lap order
- Fasteners and flashing metals rated for coastal, salt-air exposure
- Rough openings verified against actual window dimensions before installation day
- Egress and energy code requirements checked against the specific units ordered
- Drainage path confirmed at the sill so bulk water has somewhere to go
Why a Crew That Already Works Lummi Island Matters
Building on Lummi Island comes with logistics that don't apply to a typical Ferndale lot — material and crew access depends on the ferry schedule, which means scheduling has to be planned around sailing times rather than just drive time. A crew that already works the island knows to batch trips, order materials with enough lead time, and coordinate with the general contractor so window installation doesn't stall the framing-to-siding sequence waiting on a ferry.
Beyond logistics, familiarity with the site conditions matters. A crew that's installed windows on exposed, salt-air lots around the island already has a feel for which orientations take the worst weather, where extra flashing attention pays off, and what corrosion-resistant hardware actually holds up out here versus what only looks good on a spec sheet. That's the kind of judgment that comes from doing the work in this specific environment repeatedly, not from a general new-construction background alone.
What This Means for Your Build
Getting new-construction windows right on Lummi Island isn't about exotic materials or gimmicks — it's about disciplined, correct flashing and drainage details, hardware specified for a salt-air environment, and a crew that plans around the realities of building on an island in Whatcom County's wet climate. Done right, once, before the siding goes on, it's work you shouldn't have to think about again for a long time.
If you're planning a new build on Lummi Island and want windows installed correctly the first time, we're happy to walk the plans with you and talk through the details for your specific site. Fill out the form below for a free, no-pressure estimate.