 Ferndale Exterior
 Building New in Cordata? The Windows Are Not an Afterthought
If you're framing a new home or addition in the Cordata area, the window package gets decided early — usually while trusses are still being set and the rough openings are just numbers on a plan. That's exactly the moment when a lot of long-term problems get built in, because a new-construction window is only as good as the flashing, sill pan, and weather barrier work that happens around it. The window unit itself is often the easy part. Getting the water management right, for this specific climate, is where the job is actually won or lost.
We work new-construction window installs for builders and homeowners in and around Ferndale, including Cordata, and the biggest difference we see between a window that lasts thirty years without issue and one that starts leaking at year five isn't the brand stamped on the frame — it's whether the crew that set it understood how water moves through a wall assembly in this part of Whatcom County.
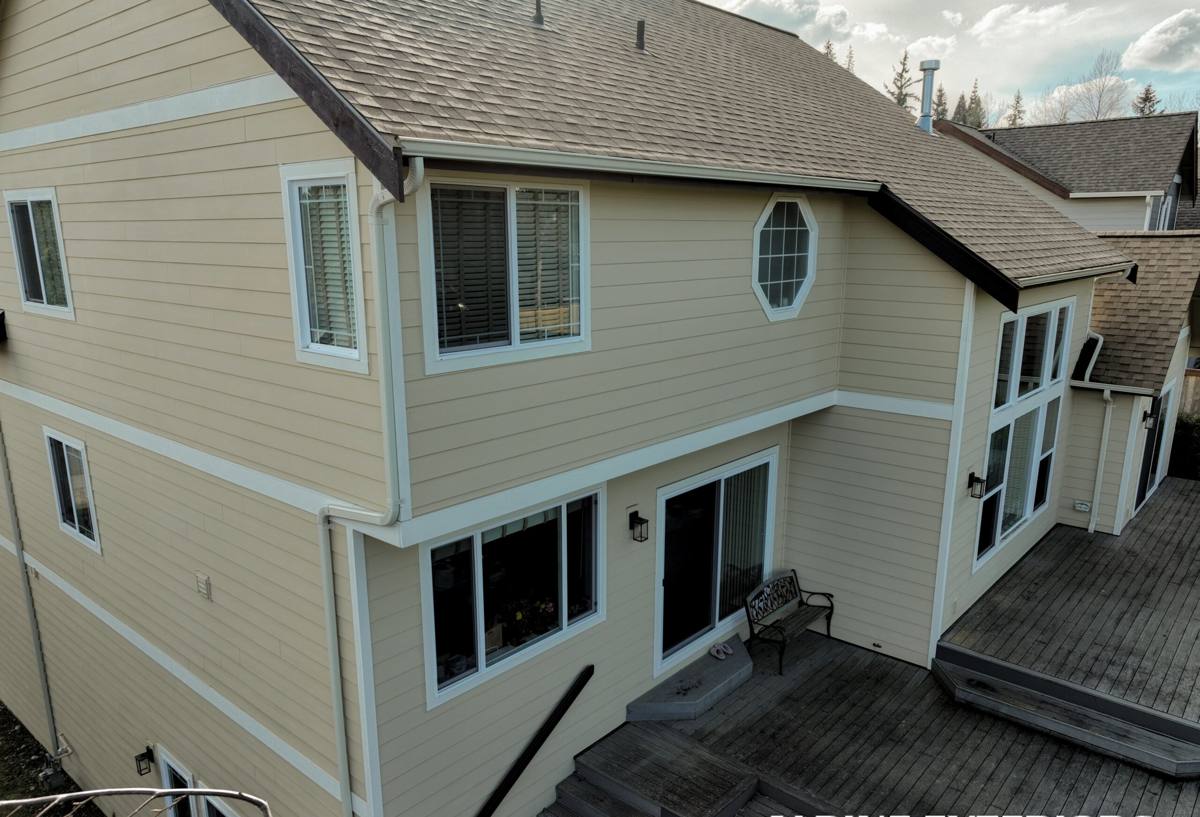
What Whatcom County's Climate Actually Demands From a Window Install
Cordata sits inland from Bellingham Bay, but it still gets the full package of Pacific Northwest coastal weather: long wet seasons, wind-driven rain events, and enough marine moisture in the air to matter for material choices. None of this is exotic, but it does mean a window install can't be treated like it would in a dry inland climate.
Driving rain, not just rain
Straight-down rain is easy for any window to shed. The problem is wind-driven rain that hits the wall at an angle and gets pushed up and under trim, sills, and siding laps. A new-construction window install has to assume water will reach the rough opening at some point in the building's life — the goal is making sure that water has a planned way out, not that it's the wall's air seal.
Salt air and hardware corrosion
Proximity to Bellingham Bay means a measurable amount of salt-laden air moves through this area, especially with prevailing westerly weather. Salt air accelerates corrosion on unprotected fasteners, hinge hardware, and lower-grade cladding over time. It's a slow effect, but it's cumulative, and it's one reason we pay attention to fastener and hardware spec, not just glass and frame.
Moss, algae, and a long damp season
Whatcom County's extended wet stretch keeps exterior surfaces damp for long periods, which is exactly the condition moss and algae need to establish on horizontal surfaces — sills, exterior stops, and anywhere water sits instead of draining. A sill that's pitched correctly and flashed to shed water fully will stay far cleaner and last longer than one that's flat or backpitched, even by a small amount.
New-Construction vs. Replacement Windows: Why the Distinction Matters
People sometimes use "new-construction window" loosely, but it refers to a specific installation method: a window with a nailing fin (or flange) that gets integrated directly into the wall's weather-resistive barrier before siding goes on. This is different from a replacement or "pocket" window, which gets inserted into an existing frame after the siding is already in place.
New construction gives you the chance to do the water management correctly from the start — full sill pan, proper flashing shingle-lap sequence, and fin integration into the housewrap. It's a real advantage over retrofit work, but only if it's actually done in the correct order. Skipping a step or reversing the sequence can trap water behind the siding instead of directing it out, and that mistake doesn't show up until there's a problem inside the wall.
What a Correct New-Construction Window Install Involves
The sill pan comes first
Before the window ever goes into the opening, the rough sill should get a sloped, sealed pan — either a manufactured flexible flashing pan or a built-up sloped sill — so that any water that does get past the window has a dedicated path to the exterior instead of sitting on bare framing.
Flashing in the correct shingle-lap order
Flashing tape and the housewrap around the opening need to overlap like shingles on a roof: each layer laps over the one below it so water is directed down and out, never funneled behind the layer beneath. Jamb flashing goes over the sill pan, the window fin gets taped over the jamb flashing, and the head flashing laps over the top of the fin. Reversing any part of that order is one of the most common causes of a hidden leak.
Setting the window level, plumb, and supported
A window that's slightly racked in the opening puts uneven stress on the frame and can keep it from operating or sealing correctly for its whole service life. Shimming at the manufacturer's specified points, not just where it's convenient, keeps the frame square under the fastening load.
Sealant is a backup, not the primary defense
Caulk and sealant matter, but they degrade with UV and weather exposure over time. A correctly flashed and panned window will still shed water even if the sealant joint eventually needs to be refreshed. A window that relies on sealant alone as its main water barrier is a maintenance problem waiting to happen.
Frame Material: What Holds Up in This Climate
There's no single "best" frame material for every project — it depends on budget, exposure, and how the home is detailed. Here's how the common options compare for a Cordata-area build:
| Frame Material | Moisture Behavior | Maintenance | Typical Fit |
|---|---|---|---|
| Vinyl | Won't rot or corrode; performs well if drainage is correct | Low — occasional cleaning | Budget-conscious builds, rentals, straightforward openings |
| Fiberglass | Very stable; minimal expansion/contraction in wet-dry cycles | Low | Larger openings, exposed elevations, long-term ownership |
| Wood, clad exterior | Good if cladding is intact; vulnerable where cladding is breached or poorly sealed | Higher — watch cladding seams and interior wood | Traditional look, interior wood finish priority |
| Aluminum | Durable but thermally conductive; can condense in cold snaps | Low-moderate | Certain architectural styles, commercial-adjacent looks |
For most exposed elevations in this area — especially anything facing prevailing weather — we lean toward vinyl or fiberglass simply because they don't give salt air or sustained dampness anything to work on. Wood-clad units can still be the right call for the right project, but they ask more of the install detailing and the homeowner's long-term upkeep.
Our Process When We Frame Windows for a Cordata Build
Whether we're brought in by a builder framing a new home or a homeowner managing their own build, the sequence stays consistent:
- Review the plan set and window schedule against the actual rough openings before anything is installed, catching sizing or spec mismatches early.
- Install or verify sloped sill pans at every opening.
- Flash each opening in the correct shingle-lap order, tying into the housewrap so the whole assembly drains as one system.
- Set, shim, and fasten each window per the manufacturer's specification — not a generic one-size approach.
- Seal the interior and exterior per code and manufacturer instructions, then document the install before siding covers it up.
- Walk the finished openings with the builder or homeowner before cladding closes everything in, since this is the last point anything is easy to correct.
What to Verify Before Siding Goes On
This is the point in a build where a homeowner or general contractor should ask questions, because once the siding is up, the flashing work is hidden for good. A few things worth checking on any new-construction window install:
- Sill pans are sloped toward the exterior, not flat or backpitched
- Flashing tape and housewrap overlap in shingle-lap order at every opening, not just the ones facing the street
- Fasteners and hardware are rated for the exposure, not generic interior-grade parts
- Each window is shimmed level and plumb, with no visible racking or bowing in the frame
- Sealant joints are continuous with no gaps, especially at corners
- Photos or documentation exist of the flashing before it's covered by siding
Cost Factors on a New-Construction Window Package
Pricing swings a lot based on the specifics of the build, but these are the variables that move the number most:
| Factor | Why It Moves the Price |
|---|---|
| Frame material and glass package | Vinyl is typically the most budget-friendly; fiberglass and clad-wood run higher |
| Opening count and size | Larger and taller units cost more per unit and take longer to flash correctly |
| Elevation exposure | Openings on weather-facing walls sometimes warrant upgraded flashing details |
| Access and building stage | Coordinating with framing and siding crews affects scheduling, not just materials |
| Energy code compliance | Washington's state energy code sets minimum performance requirements that can shift glass and frame selection |
We'd rather walk a specific plan set and give a number based on your actual openings than throw out a broad estimate that doesn't reflect your build.
Why It Matters That We Already Work in Cordata
A crew that already installs windows around Ferndale and the Cordata area isn't guessing at how this climate behaves — we've seen what a properly flashed opening looks like after several wet seasons, and we've seen what an improperly detailed one looks like when the siding eventually comes off for a repair. That's a different starting point than a crew working from a generic install manual with no local reference point.
It also means we're used to coordinating with the trades and inspection process on local builds, so window rough-in doesn't become the step that holds up your schedule. For new construction specifically, timing matters — flashing has to happen before siding, and siding crews are usually not far behind framing.
Get a Straight Answer on Your Cordata Build
If you're planning a new build or addition in the Cordata area and want the window package done right the first time, we're glad to walk the plans or the framed openings with you and give you a straightforward, no-pressure estimate. There's a form below — send us a bit about the project and we'll get back to you.