 Ferndale Exterior
 Building New in Sumas Means One Chance to Get the Windows Right
When you're framing a new home in Sumas, the windows aren't an upgrade or a repair — they're part of the building envelope from day one. That's a very different job than swapping out an old window in a house that's already weathered twenty winters. New-construction windows get installed with a nailing fin that ties directly into the wall's weather-resistive barrier (WRB), the sheathing, and the flashing sequence, all before siding ever goes on. Miss a step here and the mistake doesn't show up as a drafty room next year — it shows up as rot inside the wall in five or ten years, hidden behind finished siding and trim.
Ferndale Exterior Co works new-construction window installs for builders and homeowners throughout Whatcom County, including here in Sumas. We're not guessing at how this valley's weather behaves — we've flashed openings, run WRBs, and trimmed out windows on homes across the same stretch of low-lying, moisture-heavy country that Sumas sits in.
What Sumas' Climate Actually Demands From a Window Opening
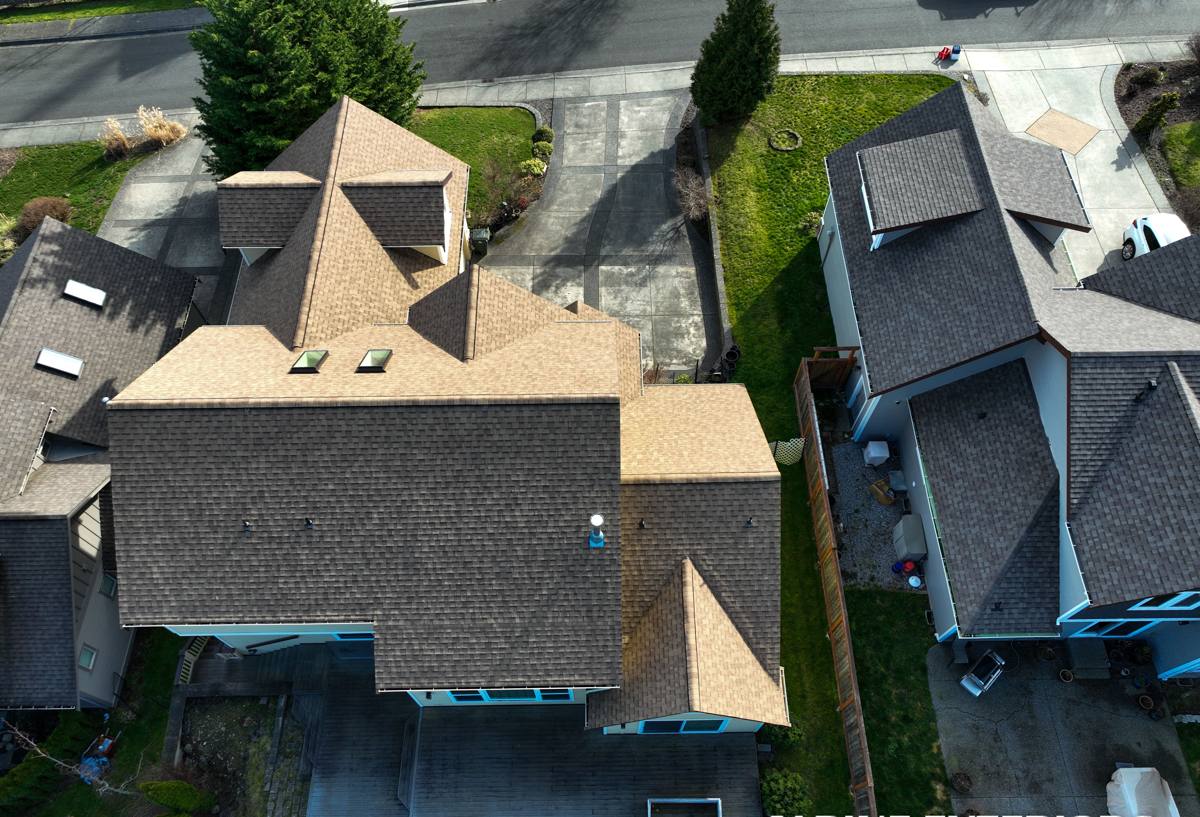
Whatcom County's marine-influenced weather doesn't stop at the coastline. Damp, salt-tinged air off the Salish Sea moves inland with the weather systems that roll through the whole county, and Sumas gets its share of driving, sideways rain during the wet months. Add a valley setting with plenty of standing moisture in the air during fall and winter, and you get conditions that are hard on any building assembly that isn't detailed correctly the first time.
A long moss season is part of that same story. Where moisture sits — on roofs, on north-facing siding, around window trim that never fully dries out — moss and algae take hold and hold moisture against the building even longer. Window openings are one of the most common places this shows up, because a poorly flashed opening keeps a thin film of water working its way behind trim and siding long after the rain has stopped.
None of this means new-construction windows in Sumas need exotic materials. It means the installation details — the ones nobody sees once the siding is on — have to be done correctly every single time.
The Three Things That Matter Most Here
- Sill pan flashing under every rough opening, so any water that gets past the window has a sloped path back outside instead of a place to pool.
- Proper WRB integration — the housewrap or building paper has to shingle-lap correctly with the window flange, not just get taped over afterward.
- Head flashing that sheds driving rain away from the top of the window instead of letting it wick sideways into the wall.
The Anatomy of a Correct New-Construction Install
There's a specific order of operations behind every window opening we build out, and skipping or reversing steps is where most window-related water damage originates — not from a bad window, but from a bad sequence.
- Rough opening check. We verify the opening is square, level, and sized correctly before the window ever goes near it. A racked opening stresses the frame and can compromise the seal for the life of the window.
- Sill pan installation. A back-dammed, sloped sill pan goes in first, so the rough sill itself never sits in direct contact with water.
- WRB lap-in. The weather-resistive barrier is cut and folded into the opening so water draining down the wall is directed over the top of the sill pan, not behind it.
- Window set and fastening. The window goes in plumb and level, shimmed correctly so it isn't bowed or racked, then fastened through the nailing fin per the manufacturer's schedule — this affects both performance and warranty coverage.
- Flashing tape at the fin. Self-adhered flashing tape seals the nailing fin to the WRB on the sides and top, always shingle-lapped so water sheds down and out, never into a seam.
- Head flashing. A drip cap or head flashing goes above the window, integrated with the WRB above it, to break the path of water running down the wall.
- Sealant at the interior. Backer rod and sealant at the interior side of the frame close the air seal — this is what actually stops drafts, not caulk on the exterior trim.
Every one of those steps takes minutes. Skipping any of them takes years to show up as a problem — and by then it's hidden behind siding, trim, and drywall.
Choosing a Window Product for a New Build in This Climate
There's no single "right" window brand for Sumas. There are trade-offs between frame materials that matter more in a wet, moss-prone climate than in a dry one, and we walk builders and homeowners through those trade-offs honestly rather than pushing one product line.
| Frame Material | Moisture Behavior | Maintenance | Best Fit |
|---|---|---|---|
| Vinyl | Won't rot or corrode; performs well if installed with proper drainage | Low — occasional cleaning | Most new-construction budgets; solid all-around performer |
| Fiberglass | Very stable in temperature swings; strong moisture resistance | Low | Larger openings, higher-end new builds wanting minimal upkeep |
| Wood-clad | Interior wood needs the exterior cladding intact to stay protected from moisture | Higher — cladding seams need periodic inspection | Homeowners prioritizing interior wood appearance over lowest maintenance |
| Aluminum | Prone to condensation without a thermal break; can conduct cold | Moderate | Specific architectural applications, less common for residential new builds here |
Whatever material a homeowner or builder chooses, we hold the same standard on the installation side: correct flashing sequence, correct fastening schedule, and no shortcuts on the WRB integration. The window product matters less than the install quality when it comes to what actually keeps water out of the wall.
Our Process on a Sumas New-Build Job
Whether we're brought in by the builder directly or by a homeowner managing their own new-construction project, the process looks the same:
- Walk the framed openings before windows arrive, confirming rough opening sizes match the ordered units.
- Install sill pans and integrate WRB per opening, ahead of window delivery where the schedule allows.
- Set and fasten each window to manufacturer specification, keeping written notice of fastener schedule for warranty purposes.
- Flash and tape every opening in the correct shingle-lap sequence, then photograph the flashing before siding covers it.
- Coordinate with the siding and trim crew so window trim details tie into the drainage plane correctly, not as an afterthought.
That mid-process photo step matters more than it sounds like. Once siding goes up, nobody — including us — can go back and verify the flashing was done right. Documenting it while it's still visible protects the homeowner and gives the builder a record for their own files.
Common Problems We Get Called to Fix Later
Most of our new-construction window callbacks trace back to a handful of repeat issues, and they're worth knowing about before your windows go in rather than after:
- Reverse-lapped flashing tape — installed in a way that directs water into the seam instead of over it. Invisible until there's interior damage.
- Missing or shortcut sill pans — window set directly on bare sheathing with only caulk as a water barrier.
- Under-fastened nailing fins — fewer fasteners than the manufacturer schedule calls for, which can void warranty coverage and let the window rack over time.
- Trim installed before flashing was verified — trim carpenters covering an opening before anyone confirmed the flashing sequence was correct.
Every one of these is avoidable with the right sequence and a crew that treats window flashing as a system, not a single step.
A Quick Checklist Before Your Windows Go In
- Confirm the sill pan detail your contractor plans to use — ask them to describe it, not just confirm they'll "flash it."
- Ask whether flashing will be photographed before siding covers the openings.
- Verify the fastening schedule matches the window manufacturer's installation instructions, not a generic shortcut.
- Ask how the WRB will be integrated at the window — shingle-lapped, not just taped flat.
- Confirm who is responsible for coordinating between the window installer, siding crew, and trim carpenter, so drainage details don't get lost between trades.
Why Hiring a Crew That Already Works Sumas Matters
Sumas sits in a valley with its own particular mix of agricultural surroundings, low-lying ground, and the same driving rain and long moss season that shapes building practices across Whatcom County. A crew that's only worked drier inland climates, or one that treats window installation as a quick afternoon task, is more likely to skip the details that don't matter in a mild climate but matter a great deal here.
Working new construction in and around Sumas and greater Ferndale means we already know how this valley's weather stresses a building envelope over time — and we build the flashing and drainage details accordingly, on every opening, every time. That consistency is what actually protects a new home's walls for the decades ahead, not any single product choice.
If you're framing a new home in Sumas or working with a builder who needs a window crew that gets the flashing and WRB details right the first time, we're happy to walk the plans with you. Reach out for a free, no-pressure estimate using the form below.