 Ferndale Exterior
 Siding Installation Built for Birch Bay's Waterfront Exposure
Installing siding on a Birch Bay home is a different job than installing the same product a few miles inland. Homes here sit close enough to the water to take a steady dose of salt-laden marine air, and the wind off the bay drives rain sideways into wall assemblies instead of letting it simply run off. Add a moss and mildew season that stretches through most of the year on shaded or north-facing walls, and you have a climate that punishes shortcuts fast. A siding installation that would hold up fine in a calmer, drier location can fail within a few wet seasons here if the details aren't handled correctly.
This page focuses specifically on what a siding installation should look like for a Birch Bay property — the prep work, the moisture management, the fastening and flashing detail, and the sequence of a job done right. We install James Hardie fiber cement exclusively, and the installation practices below are what we hold every job to, whether it's a full re-side on a waterfront lot or a smaller section replacement.
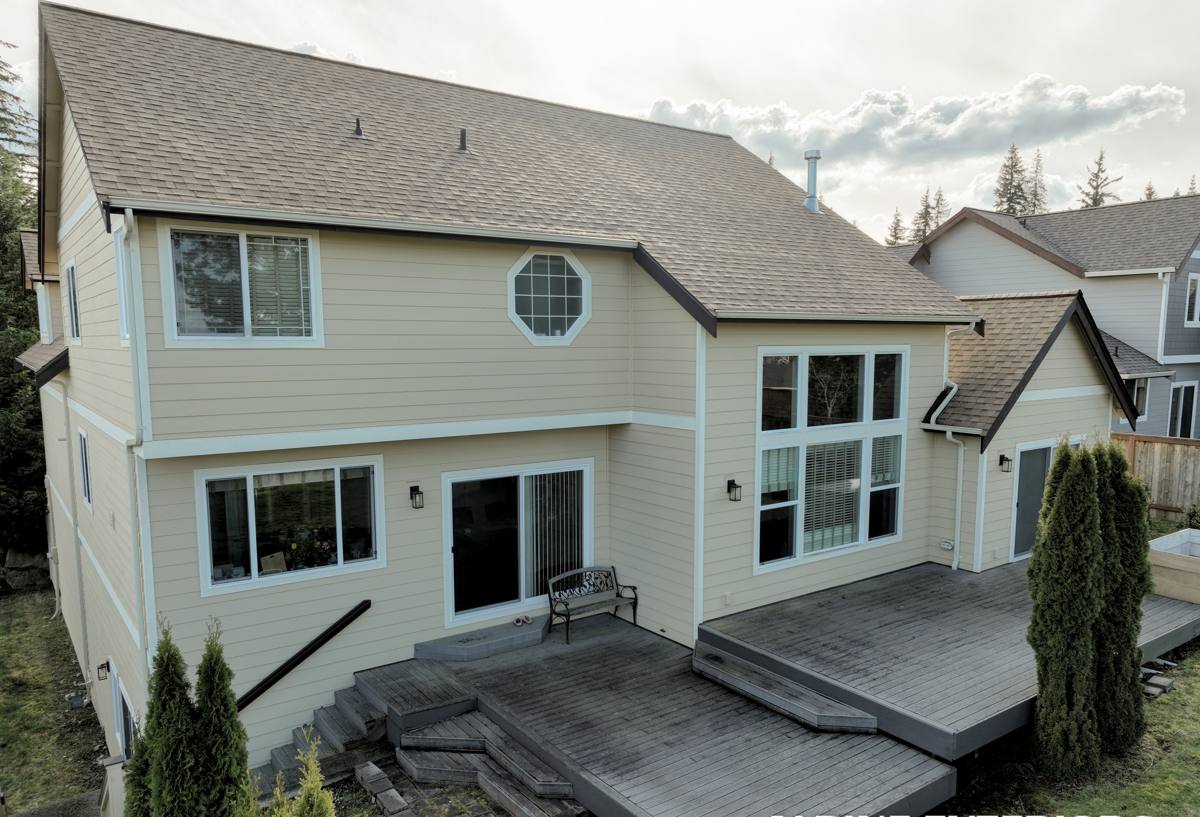
Why Installation Quality Matters More Here Than Elsewhere
Fiber cement is a genuinely durable material, but it doesn't install itself, and it doesn't forgive sloppy work the way some people assume. Every manufacturer spec — fastener depth, joint spacing, clearance from grade, drainage detailing — exists because it addresses a specific way water or wind can get behind the cladding. In a calm, dry climate, a minor installation shortcut might go unnoticed for years. On a property exposed to Birch Bay's combination of salt air, wind-driven rain, and near-constant shaded moisture, the same shortcut tends to show up as a moisture problem within a couple of wet seasons rather than a couple of decades.
Salt Air and Fastener Corrosion
Salt in the air accelerates corrosion of any fastener, flashing, or trim piece that isn't rated for it. On a waterfront installation, using the wrong fastener grade is one of the more common ways a siding job starts failing early — not because the siding itself gave out, but because the hardware holding it in place did.
Wind-Driven Rain at Every Seam
Because rain here regularly comes in sideways, every seam, joint, and penetration in a siding installation is a potential entry point, not just the field of the wall. Installation sequencing and joint treatment matter more in this kind of exposure than they would somewhere the rain mostly falls straight down.
A Long Moss Season
Consistent shade and moisture across much of the year mean an installation that traps even small amounts of moisture behind the cladding gives moss, mildew, and rot a long runway to work with. Proper drainage detailing behind the siding isn't optional in this climate — it's what keeps incidental moisture from turning into a sustained problem.
What Correct Preparation Involves
A siding installation starts before the first piece of Hardie board goes up. On a re-side, we remove the existing siding and inspect the sheathing and framing underneath for rot, soft spots, or prior water intrusion — issues that are common on older Birch Bay homes that have taken decades of coastal exposure, sometimes with siding or flashing details that were never quite right to begin with. Any damaged sheathing gets repaired before new siding goes on, because installing a new product over a compromised substrate just hides the problem instead of solving it.
What We Check During Tear-Off
- Sheathing condition — soft, delaminated, or water-stained panels get identified and replaced
- Framing at window and door openings, where leaks tend to concentrate over time
- Existing house wrap or building paper condition, and whether it's still doing its job
- Signs of prior moss or organic growth trapped against the wall assembly
- Condition of existing flashing at roof-to-wall transitions and penetrations
Skipping this inspection step is one of the fastest ways a siding project turns into a callback a year or two later. It's also the step that's easiest for a crew unfamiliar with this climate to rush through, because on a drier inland job the sheathing underneath is far less likely to have a story to tell.
The Weather-Resistive Barrier and Drainage Plane
Behind every Hardie installation is a weather-resistive barrier — house wrap or building paper — that acts as the home's actual moisture defense layer, with the siding itself as the first line of protection against direct wetting. On a waterfront exposure like Birch Bay, we pay close attention to how that barrier is lapped, sealed, and integrated with window and door flashing, since a gap or reverse lap here can undo a lot of the benefit of a premium siding product. Where wall assemblies and conditions call for it, a rain-screen or drainage gap behind the siding gives incidental moisture a path to drain and dry out instead of sitting against the wall, which matters more in a climate with this much sustained shaded moisture.
Flashing, Fastening, and Joint Detail
This is the part of a siding installation that homeowners rarely see once the job is finished, and it's the part that determines whether the job actually performs for thirty years or starts having problems in five.
Flashing at Openings
Windows, doors, and any wall penetration need flashing that's correctly sequenced with the weather barrier and the siding — water needs to be directed out and down at every layer, never trapped behind the cladding. Wind-driven rain finds gaps at these transition points faster than it finds them anywhere else on the wall.
Fastener Type, Spacing, and Depth
Hardie's installation spec calls for specific fastener types, spacing, and penetration depth, and those specs exist for a reason — under-driven or over-driven fasteners, or fasteners in the wrong location on the board, create weak points that show up as cracking or loosening over time, especially under the wind loads a bay-front property deals with regularly.
Joints and Butt Seams
Properly treated joints — whether factory-mitered corners or correctly caulked and sealed butt seams — keep water from tracking into the wall assembly at the seams. On a home exposed to consistent wind-driven rain, joint quality is one of the first things that separates a durable installation from one that starts showing gaps and staining within a few seasons.
Our Installation Process, Step by Step
- On-site assessment: We walk the exterior, evaluate the existing siding and substrate condition, and note anything specific to the property's exposure — waterfront wind, shade patterns, drainage around the foundation.
- Written scope and material plan: We put together a clear scope covering tear-off, substrate repair, the specific Hardie products and profiles for the home, and a realistic timeline before any work begins.
- Tear-off and substrate inspection: Old siding comes off, sheathing and framing get inspected, and any repairs happen before new material goes up.
- Weather barrier and flashing installation: House wrap, flashing, and drainage detailing go in first, integrated correctly with window and door openings.
- Hardie siding installation: Panels or lap siding go up to manufacturer spec — correct fastening, clearances, and joint treatment throughout.
- Trim, caulking, and final detail work: Corners, trim boards, and joints get finished and sealed correctly for this climate's moisture exposure.
- Final walkthrough: We go over the completed work with the homeowner and address any questions before calling the job done.
What Drives the Cost of a Birch Bay Siding Installation
Every home is different, and we won't quote a number without seeing the property, but the factors below are what typically move the price of a siding installation up or down in this area.
| Factor | Why It Matters |
|---|---|
| Home size and wall complexity | More square footage and more corners, gables, and dormers mean more cutting, fitting, and labor time |
| Condition of the substrate | Rot or water damage found during tear-off adds sheathing and framing repair before new siding can go on |
| Existing siding type | Some materials come off faster and cleaner than others, which affects tear-off time and disposal |
| Drainage and rain-screen detailing | Adding a rain-screen gap behind the siding is extra labor but can be worth it on higher-exposure walls |
| Hardie profile and trim selection | Lap siding, panel systems, and trim details vary in material and installation cost |
| Site access | Waterfront lots, steep grades, or tight access can add setup time and equipment needs |
Why a Crew That Already Works Birch Bay Matters
A contractor who installs siding regularly in Birch Bay already knows what to expect before the tear-off even starts — where moisture tends to hide on a bay-front home, which fastener grade holds up against the salt air, and how much drainage detailing a given wall orientation actually needs. That familiarity isn't a marketing point; it shows up directly in fewer surprises during the job and fewer callbacks after it, because the installation choices are being made for this specific exposure rather than adapted from a drier, calmer climate after the fact.
Questions Worth Asking Before You Hire
- Do you install James Hardie to manufacturer spec, and can you explain your fastening and flashing approach?
- What do you typically find when you tear off old siding on homes in this area?
- Do you add rain-screen or drainage detailing, and on which walls or exposures?
- Are you licensed and insured for exterior work in Washington, and can you provide proof?
- Will I get a written scope of work and timeline before the contract is signed?
A contractor who can answer those questions specifically, rather than in generalities, is usually one who has actually done the work here before.
Let's Look at Your Siding Installation
If you're planning a siding installation for a Birch Bay property, we're glad to walk the exterior with you, take an honest look at the existing siding and substrate, and explain exactly what the job would involve for your home. Reach out below for a free, no-pressure estimate.