 Ferndale Exterior
 Building New in Kendall: What Your Windows Need to Handle
Kendall sits inland from Bellingham Bay but still lives inside the same weather system that soaks the rest of Whatcom County — long wet winters, a moss season that can stretch from October into April, and enough wind-driven rain off the water to test every seam in a building envelope. If you're framing a new home or an addition out here, the window install isn't just a finish detail. It's one of the first waterproofing decisions that determines whether the house stays dry for the next thirty years.
New-construction windows are different from replacement windows in one critical way: you have full access to the rough opening, the house wrap, and the flashing plane before siding goes on. That's an advantage — but only if the crew installing them actually uses it. A rushed or undersized install at this stage gets buried behind siding and trim, and any mistake becomes a hidden leak path that won't show up until years later, usually as rot in the sheathing or staining on an interior wall.
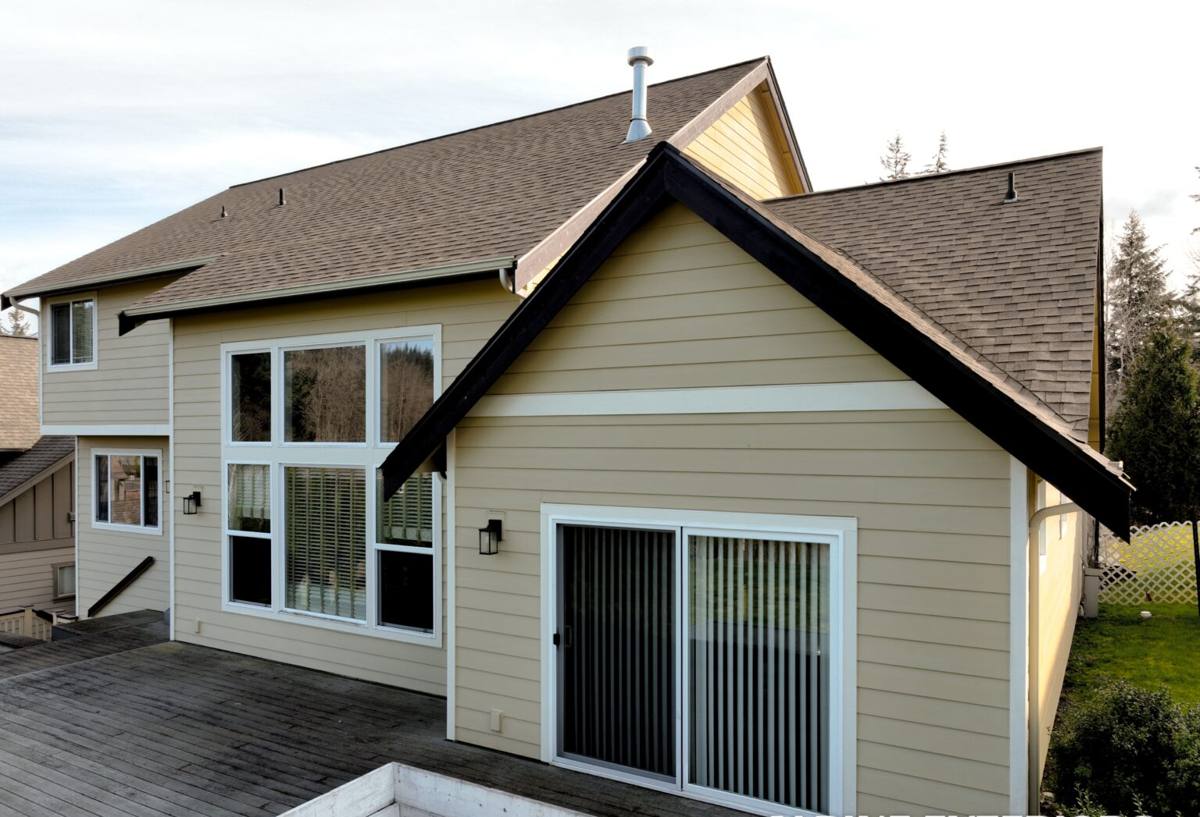
Why the Local Climate Changes the Job
Ferndale and the surrounding Whatcom County lowlands get a specific combination of conditions that matters for window installation:
- Salt-influenced air off Bellingham Bay and the Strait of Georgia accelerates corrosion on lower-grade fasteners, flashing tape adhesives, and unprotected metal trim.
- Driving, wind-pushed rain rather than straight-down rain, which means water gets forced sideways under trim and into gaps that would stay dry in a calmer climate.
- Extended moss and mildew season — persistent damp shade around north- and east-facing walls keeps surfaces wet longer, which stresses sealants and any organic trim material.
- Temperature swings between damp winter nights and warmer, drier summer days that cause repeated expansion and contraction in flashing tape, caulk joints, and window frames.
None of this is exotic — it's just the normal price of building in northwest Washington. But it means a window install that would pass fine in a drier climate can fail here within a few seasons if the flashing sequence or product selection is off.
What This Means for a Kendall Build Specifically
Kendall's mix of newer subdivisions and larger rural lots means new-construction window jobs here range from single replacement openings on an addition to full house packages on a fresh build. Either way, the exposure factors are the same: open, wind-exposed sites see more driving rain against the wall plane, while lots with mature tree cover deal with more prolonged dampness and moss growth around the window perimeter. We look at the specific site — orientation, tree cover, and wall exposure — before finalizing flashing details, not just the window spec sheet.
What a Correct New-Construction Window Install Involves
New-construction installation is a sequence, not a single step. Skipping or shortcutting any part of it creates a weak point in the water management plane. Here's the order that actually protects the wall:
- Rough opening prep — checking the opening is square, level, and sized correctly with proper shim space, and confirming the sill is sloped slightly to shed water outward.
- Sill pan flashing — a formed or built-up pan at the bottom of the opening that catches any water that gets past the window and directs it back outside, rather than into the wall cavity.
- Water-resistive barrier integration — house wrap or building paper lapped correctly around the opening in shingle-fashion (top piece overlapping the one below) so water always sheds downward and outward.
- Window setting — the unit set into the opening plumb, level, and square, fastened per the manufacturer's schedule, not "close enough."
- Flange and flashing tape sequencing — side flanges taped before the top, and the top flashing lapped over the sides last, so every layer sheds water onto the layer below it.
- Head flashing — a drip cap or flashing above the window that kicks driving rain away from the top seam, which matters more here than in calmer climates.
- Interior air sealing and insulation — sealing the gap between the frame and rough opening for both energy performance and to stop condensation from forming inside the wall.
Every one of these steps is inspectable at rough-in, which is the whole advantage of new construction over a retrofit. A crew that skips documentation or won't walk you through the flashing sequence on request is a red flag, not a time-saver.
Product Selection for This Climate
There's no single "best" window brand — the right choice depends on budget, the home's style, and how the product performs specifically in a wet, salt-influenced climate. A few factors we weigh with Kendall homeowners:
| Factor | Why It Matters Here |
|---|---|
| Frame material | Vinyl and fiberglass resist moisture and corrosion better than untreated wood in a high-humidity, salt-air environment; clad-wood options need intact exterior cladding to hold up long-term. |
| Glazing / Low-E coating | A quality low-E, double- or triple-pane unit reduces condensation risk on interior glass during cold, damp stretches — a common complaint in this climate. |
| Hardware and fasteners | Corrosion-resistant hardware matters more near the bay; cheaper fasteners can start showing rust streaks within a few years. |
| Weep system design | Windows need a clear path for any intruded water to drain back out — a clogged or poorly designed weep system holds water against the frame. |
| Warranty structure | Look at what's covered (glass seal failure, hardware, finish) and for how long — this varies a lot between manufacturers and price tiers. |
We install a range of manufacturers rather than pushing one brand, and we'll walk you through the honest trade-offs — including where a cheaper unit is a reasonable call and where it isn't, given how this specific site is exposed to weather.
Our Process for a Kendall New-Construction Job
1. Site and Plan Review
Before ordering anything, we walk the framed openings (or review plans if we're involved pre-framing) and check rough opening sizes against the window schedule, note the site's wind and rain exposure, and flag anything — like an unusually exposed gable end or a shaded north wall — that changes the flashing approach.
2. Product Selection and Ordering
We go over frame material, glazing package, and budget together, factoring in the climate considerations above. Lead times on new-construction windows can run several weeks, so this step happens early enough that it doesn't hold up your framing or siding schedule.
3. Flashing and Installation
Our crew installs sill pans, integrates the water-resistive barrier, sets and fastens each window, and applies flashing tape in the correct shingle-lap sequence. This is the stage where experience with wind-driven coastal rain actually shows — it's the difference between a flashing detail that looks right and one that performs right in a January storm.
4. Walkthrough and Documentation
Before siding covers the work, we're glad to walk the openings with you or your general contractor so you can see the flashing layers firsthand. This is also a natural inspection point if your project requires one.
What to Check Before Siding Goes On
If you're a homeowner or GC managing a build and want a quick gut-check before window openings get covered, run through this:
- Sill pan flashing is visible and properly formed at the base of each opening, sloped to drain outward.
- Flashing tape is applied in the correct order — sides before top, top overlapping sides.
- Head flashing or drip cap is installed above each window, not just tape alone.
- No exposed staples, gaps, or unsealed penetrations near the window flange.
- Windows operate smoothly — open, close, and lock without binding — before the opening is covered.
- Fasteners used are corrosion-resistant, appropriate for coastal Whatcom County exposure.
Why a Crew That Already Works Kendall Matters
Flashing details that work fine in a drier inland climate can under-perform here, and a crew unfamiliar with wind-driven bay-area rain may not adjust for it. Working regularly in and around Ferndale and Kendall means we've seen how specific site conditions — open exposure versus tree cover, uphill versus low-lying lots — actually play out over a few wet seasons, not just on paper. That local pattern recognition is hard to substitute for, especially on a step of construction that gets covered up and can't be easily re-inspected later.
It also means we're a known, local point of contact if a warranty question or a minor adjustment comes up after the siding is on and the job is closed out — not a crew that installed once and moved on to the next county.
Timeline and Coordination
New-construction window installs need to slot into a broader build schedule — after framing and house wrap, before siding and trim. We coordinate directly with your general contractor or, if you're owner-building, with your framing timeline, and we build in realistic lead time for ordering so the install doesn't become the bottleneck holding up your siding crew.
Weather is also a factor: while flashing and window setting can happen in light rain with the right precautions, we schedule around the heavier wind-driven storm systems that are common here in fall and winter, since a rushed install in bad conditions is exactly how corners get cut.
If you're planning a new build or addition in Kendall and want windows installed right the first time, we're glad to take a look at your plans or framed openings and give you a straightforward, no-pressure estimate — just fill out the form below.